Configure Linux Desktop Network Manager and OpenVPN Clients
Step 1: Prerequisites
This is a Step-By-Step guide to configure Linux Desktop Network Manager and OpenVPN Clients and it is not recommended to miss any of the steps if you are new to this.This guide is based on Mint 18.2 Network Manager and OpenVPN 2.4.0 and is valid as of February 2017.
Configure Linux Desktop Network Manager and OpenVPN Clients does not support connection to BolehVPN cloak configuration. Please send a request to us if you need to install the scramble cloak OpenVPN in your Linux. Please state your Linux distros but we can only provide the .deb or .rpm installer.
-
Prerequisites to configure Linux Desktop Network Manager with BolehVPN
Before starting the configuration, please ensure that you have installed Network Manager’s OpenVPN extensions. We are assuming that you do know how to install Linux application from your package manager.
-
- Install the following with your package manager (this guide is based on Debian-based distros, including Ubuntu and MINT 18.1)
network-manager-openvpn and network-manager-openvpn-gnome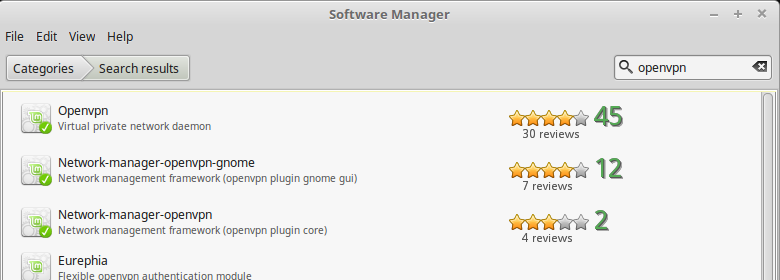
- To begin configure Linux Desktop Network Manager with BolehVPN, you will need to download your configuration files from your Dashboard and select the Linux_iOS inline format. Extract the zip files after completing the download.
- Install the following with your package manager (this guide is based on Debian-based distros, including Ubuntu and MINT 18.1)
-
Step 2: Configure Linux Desktop Network Manager and OpenVPN Clients
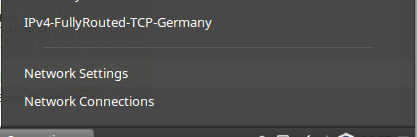
- Open your Network Connections by clicking connection icon at bottom right desktop.

- At Network Connections, click Add button.

- You will be prompted to choose a connection type.
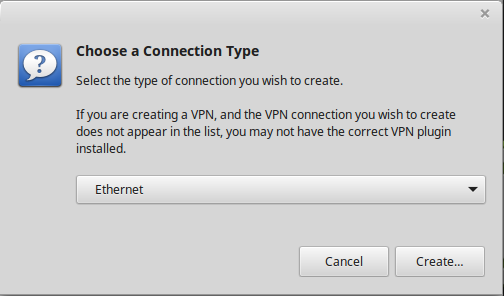
- Click the drop-down menu and select “Import a saved VPN configuration”.

- Click Create button to import saved VPN configuration.

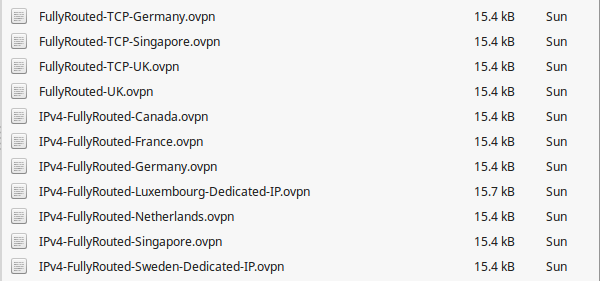
- Browse to extracted configuration file which you already download on Step 1. Below is the example of several of BolehVPN configuration files list.
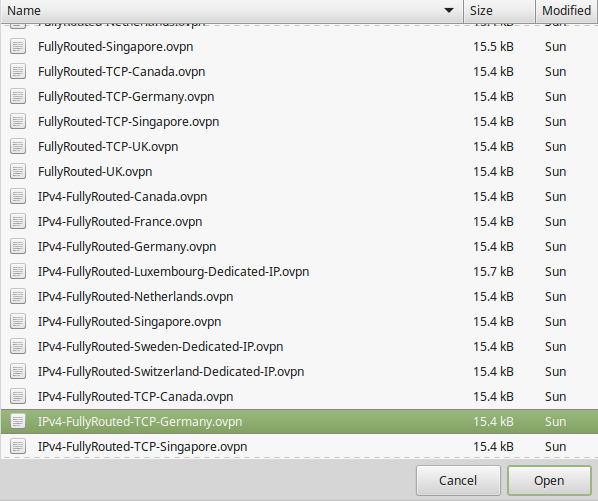
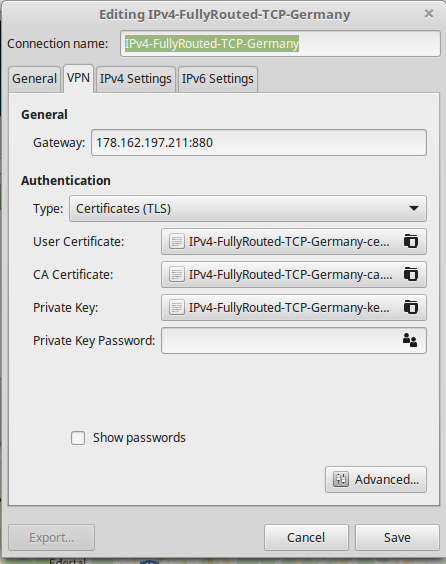
- Select one configuration file which you want from the list. For example, select IPv4-FullyRouted-TCP-Germany and click Open.
- This will bring you to Editing panel. You can change connection name at top of the panel if you want. At bottom right of the panel, there is Advanced button. Click it.

- Go to Security tab and you should see options like example below.

- Click the HMAC Authentication drop-down menu and select “SHA-512”.

- Then, go to TLS Authentication tab.

- At Subject Match empty box, type “/CN=bviserver”. Then click OK button at bottom right.

- Click Save after completing all above steps.
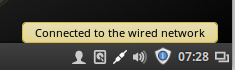
- Click connection icon at bottom right desktop again. There should be VPN Connection option which you already add and configure. Select VPN Connection and click to activate it. Wait for a few seconds and you will be notified “Connected to the VPN”.


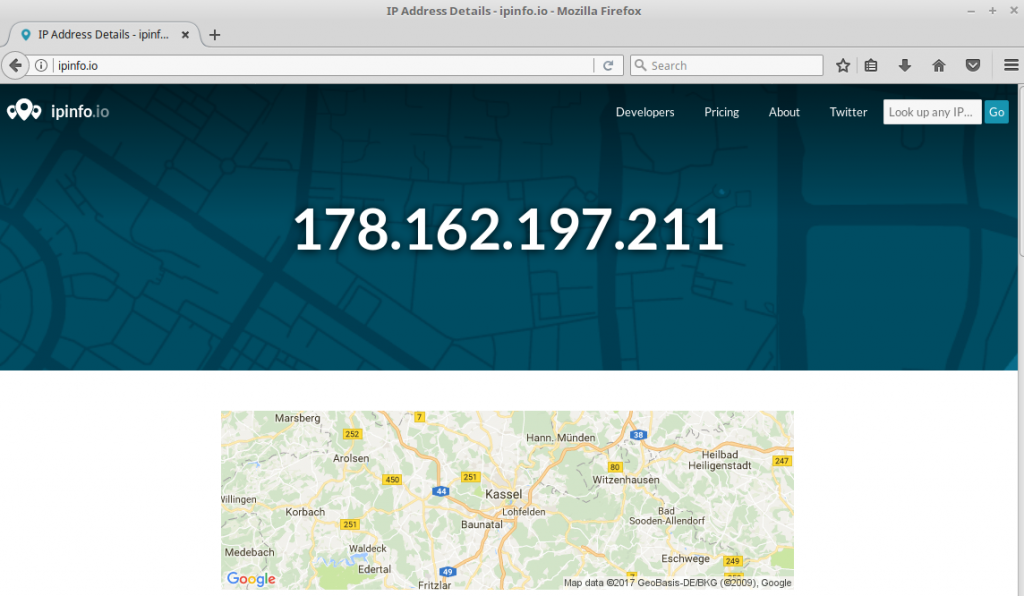
- Open web browser and visit any of the geo-location websites, such ipinfo.io to check your location and IP and if it shows the right location as stated by the configuration that you imported earlier, you have successfully connected.

Step 3: Additional Settings
Addendum IPv6 Additional Settings (Only if you are connecting to our dualstack (IPv6/IPv4 servers)
After importing the ovpn, go to IPv6 Settings tab and click on Routes…
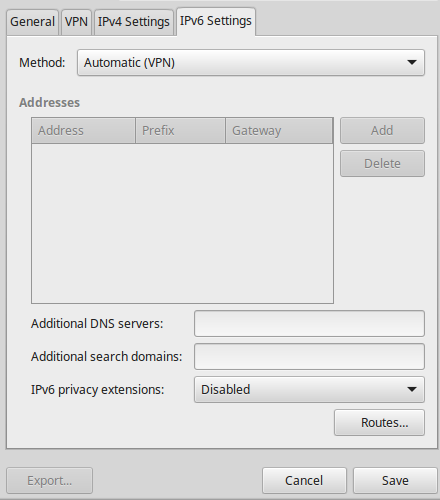
Enable the option ‘Use this connection only for resources on its network’.
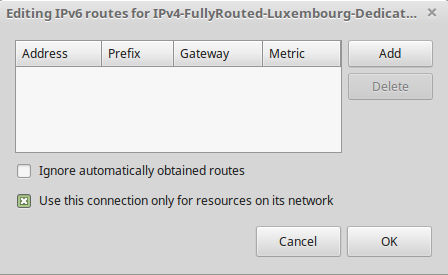
Save and continue with the rest of the configuration.
VPN DNS not pushed to network manager
Navigate to the file /etc/NetworkManager/NetworkManager.conf.
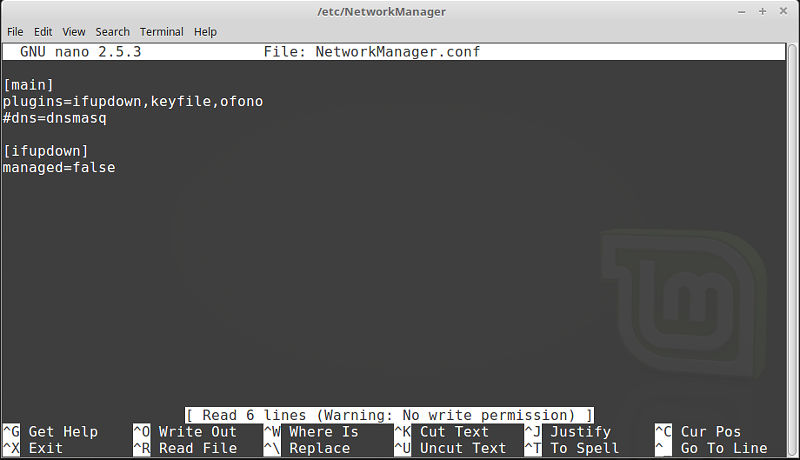
Locate the dns=dnsmasq line and comment it out so it will look like #dns=dnsmasq