Shadowsocks Setup Guide for Windows
In order to use our Shadowsocks servers, you will need to follow the following steps:
- Install the Shadowsocks client. This is the app that you will be using to connect to our Shadowsocks server.
- Configure your applications. This involves setting up your applications to route traffic through the Shadowsocks servers.
Click on the following links for your Windows OS to get the latest Shadowsocks client.
Getting the right program
The user interface is the same across both Windows and Mac.
Copy the following strings into your clipboard before proceeding.
Please email us at support@bolehvpn.net to retrieve Shadowsocks strings and QR codes. This service is only for our paying users in countries with restrictive Internet who are unable to use OpenVPN.
Once you’ve installed the client, run it.
Look for this icon in your toolbar and right click on it.
![]()
Set PAC to Local.
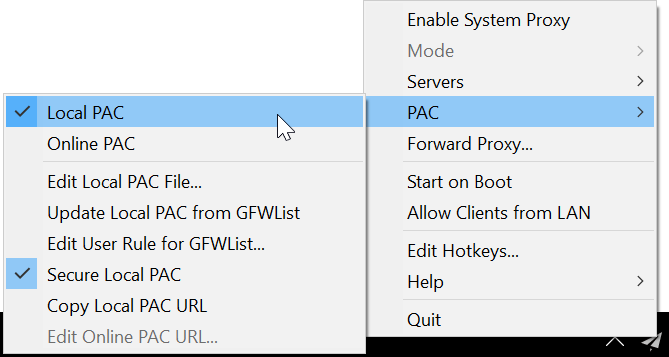
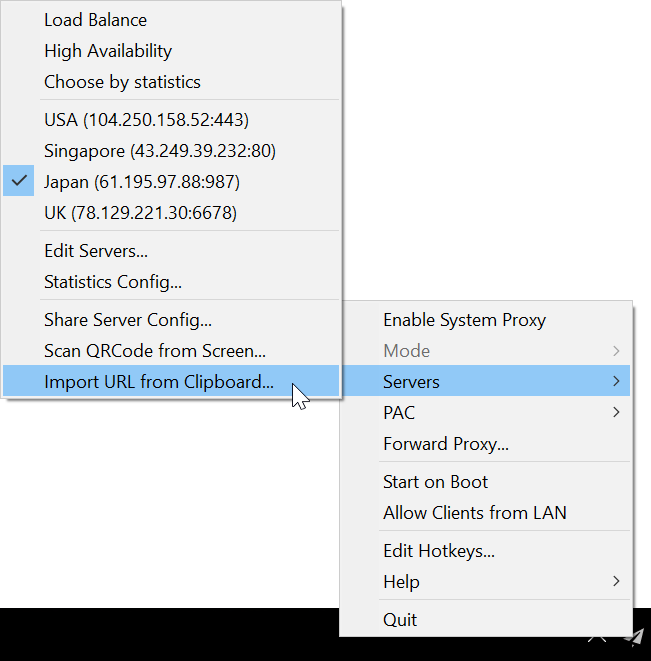
Go to Servers and click Import URL from Clipboard.
Enable System Proxy, then click on Mode and set to Global.

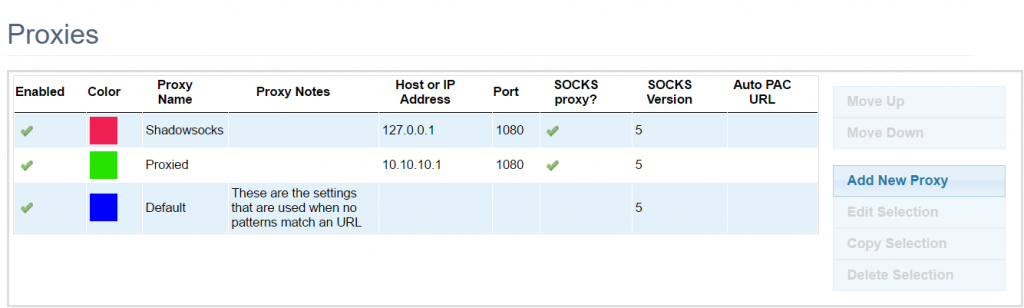
If you use Chrome, you’ll need this extension: FoxyProxy Standard
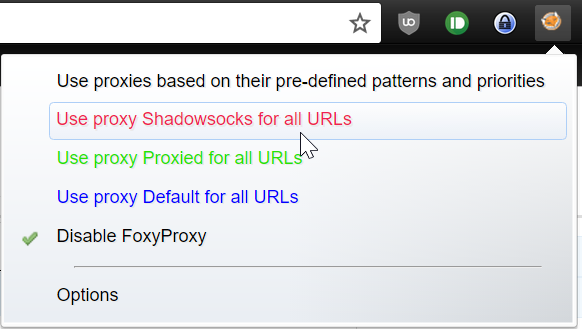
Install it, right click on the icon and select Options. Configure as follows.
Enable your proxy.
And that’s it, you’re now connected. Visit this site to confirm this, or visit your favourite blocked websites.