Shadowsocks Setup Guide for Linux
This guide is written for Linux Mate 18.1 MATE but can be used for other similar distributions.
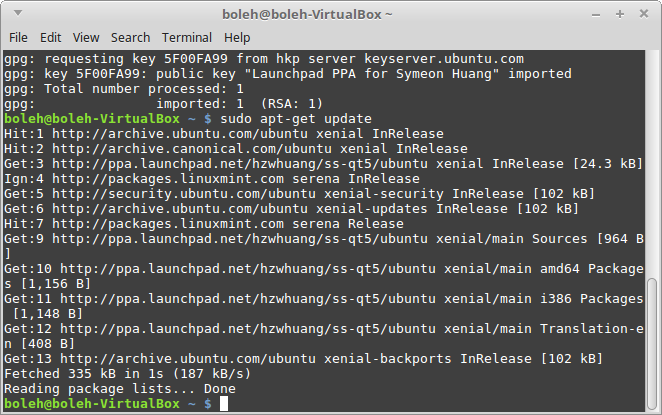
Click on the Menu button and start the Terminal. The Terminal windows will pop up. Enter the following commands one by one and answer Yes when prompted.
sudo add-apt-repository ppa:hzwhuang/ss-qt5
sudo apt-get update
sudo apt-get install shadowsocks-qt5
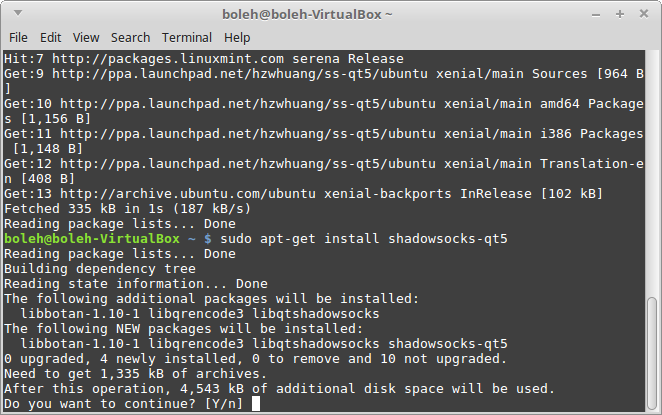
After the installation is complete, click on the Menu button and type in ‘Shadowsocks’ in the search bar. The Shadowsocks-Qt5 will appear as a search result. Click on it to start Shadowsocks.

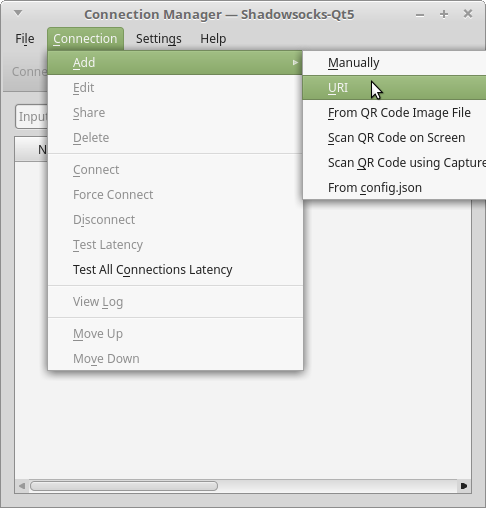
On the Menu Bar, click on Connection -> Add -> URL. Enter one of the following URLs:
Please email us at support@bolehvpn.net to retrieve Shadowsocks strings and QR codes. This service is only for our paying users in countries with restrictive Internet who are unable to use OpenVPN.
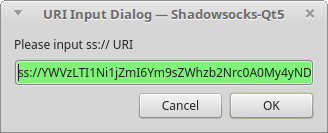
Click on OK. The Profile Editor window will pop up. Click on OK to close the window.

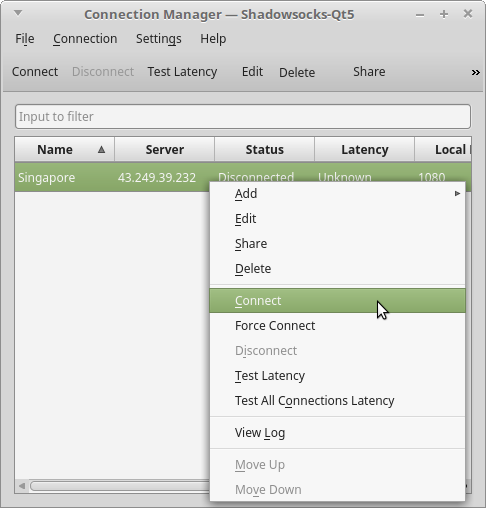
Right-click on the server that you have just added and select Connect. A pop-up notification should appear indicating a successful connection.

Start your browser and navigate to the Proxy Settings section. In this example, Firefox was used. Under the Advanced section, select the Network tab and click on Settings. Select Manual proxy configuration and enter the following:
SOCKS Host: 127.0.0.1
Port: 1080


And that’s it, you’re now connected. Visit this site to confirm this, or visit your favourite blocked websites.
For other distributions that are not based on Ubuntu, the installation instructions can be found at https://github.com/shadowsocks/shadowsocks-qt5/wiki/Installation